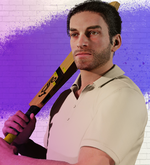
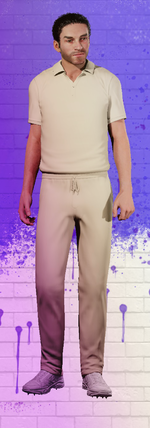
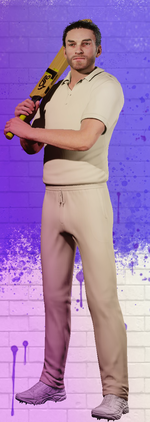
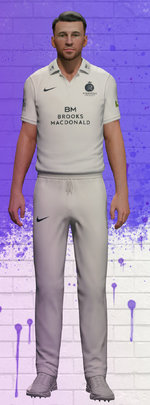
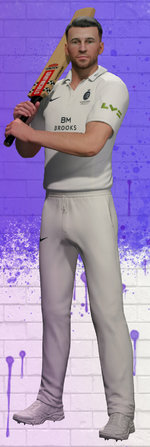
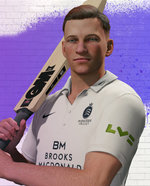
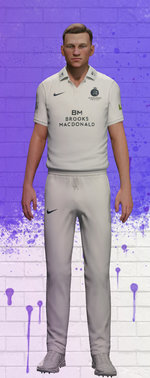
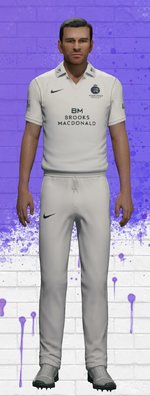
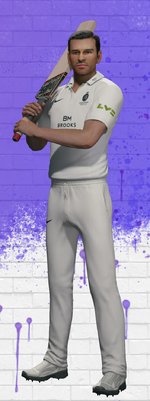
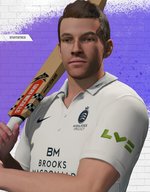
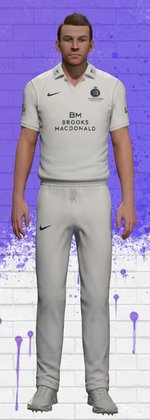
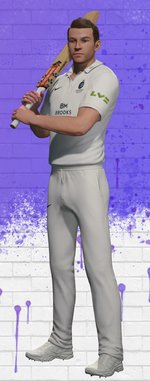
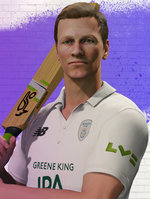
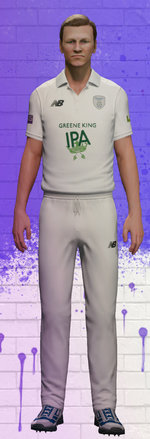
Guide (Not a video).
So I decided to do a quick guide as to what my process is. A few things to keep in mind:
- This is what I do and is not a definitive process on making a face.
- This is also the first time I've done a guide/tutorial here, so I do apologise if its a bit rough around the edges.
- I'm still learning how to get better results (I'm still horrible at eyebrows).
- Sculpting in the player creator is way more important than the face in terms of likeness compared to Cricket 19.
Tools:
- Photoshop. If you don't have photoshop then photopea is a great alternative, its basically a web browser equivalent to PS.
- I have a cheap $120 wacom mini tablet I've used for years. You can use a mouse but it is very cumbersome when compared to a wacom (
I AM IN NO WAY SUGGESTING YOU GO BUY ONE.)
So, lets begin.
Step 1:
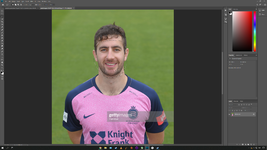
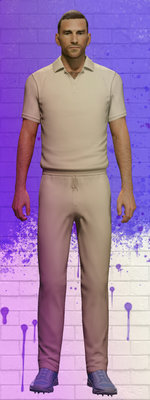
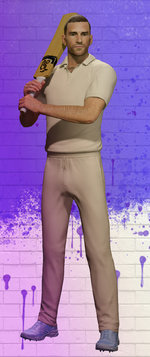
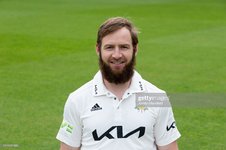
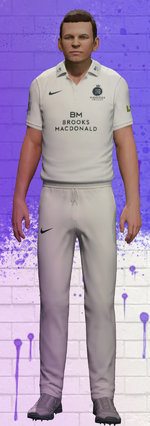
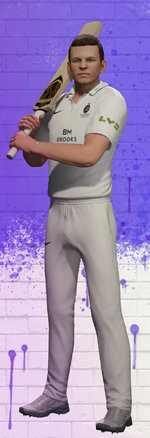
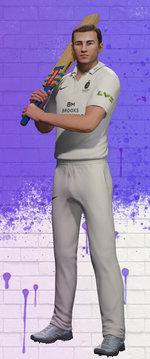
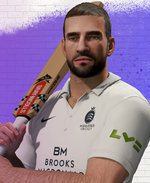
Source your photo. This is Steve Eskinazi from Middlesex. Getty Images is fine resource. For lesser known players, its a bit trickier to find.
Step 2:
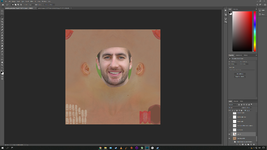
Lasso select the face.
Step 3:
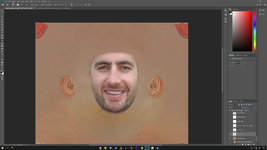
Erase junk area around face and smooth out edges. A soft brush eraser works well.
Step 4:
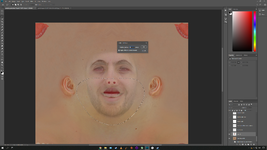
Now we need to match the face to the template, namely: eyes, nostrils and mouth (general).
In some cases the eyes match up, but the nostrils and mouth never do. What I do is lasso select the nose, mouth area, set a decent feather (eliminates any hard cut lines) and move to adjust.
Step 4a:
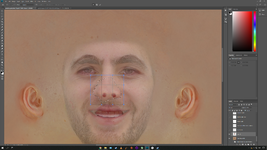
If the nose or mouth is still not playing nice, lasso select again, with a decent feather and use the warp tool (Image > adjustments)
Step 5:
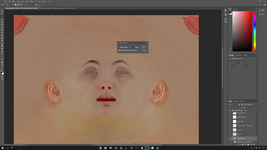
Now to cut the eyes. This is where a wacom is handy if you have one. Select the eyes, press shift to add a second lasso without losing the first one. This doesn't need to be precise.
Set feather to 2.
Step 6:
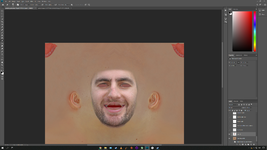
Be sure to now have your face selected and press delete.
Step 6A:
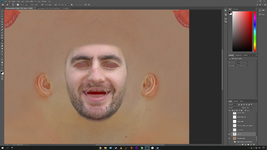
Erase any left over eye inside. I tend to erase eyelashes as well.
Step 7:
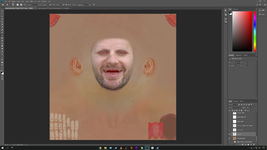
Clone stamp the eyebrows away (If not it will come out looking like a dog's breakfast).
Step 8:
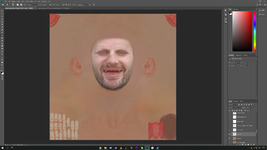
Chose the base head colour you want. Using the above template, I've made and named the base layer to correspond to the head layer.
Step 8A:
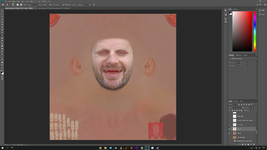
Select the Head layer you want.
Step 9:
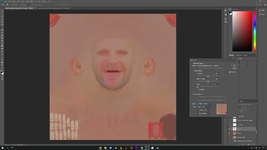
I've made the head layers to be easy to use and most cases you'll only need to select match colour (image adjustments) to get a solid result.
Be sure to have your face selected first, then in match colour select your psd file, then select the HEAD LAYER (above the adjustments folder) and select.
Step 9A:
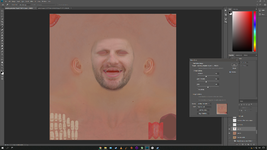
Adjust your image to match as close to the head and base layer.
Note: The more you fade the head, the more detail you will lose, so think less is more in this regard.
Step 10:
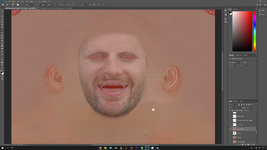
Now for the most time consuming part.
First duplicate and back up the face and base layer just in case and switch them off.
Take the original layers and merge them.
Select healing brush. The trick is to find an area on the face that is blemish free, wrinkle free and relatively similar colour to the base layer surround the face. Don't worry if its not exact.
Press alt and select. and then make your way around the face. Do small circles as if you go too far you'll add an extra nose!

There is a cross hatch that will guide you. If you're not sure just practice and undo until you get the hang of it.
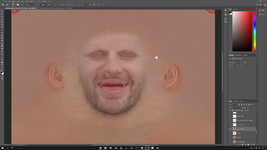
If there is a beard, go over most of it (you don't have to do the chin but I do), it'll be covered by a beard anyway later on.
I then tidy up the around the mouth (AJ MODS provided a BU mouth, I select that to neaten things up further) and remove anything that will stand out like wrinkles, nasal labal folds etc. Wrinkles around the eyes
should be eliminated as well. See below.
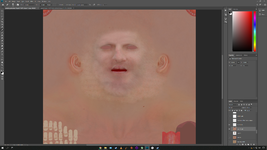
This is the main bulk of the work done.
Step 11:
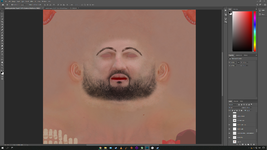
I then add beards to the face. (AJ and myself provided some in the above template, and I'm adding a few more that I'll upload next week.)
You can also add eyebrows if you wish, but it is a time consuming and finicky process to line up properly to get good results in-game. (Use the puppet warp tool for this).
Even if you match up well enough, I find the results are pretty bad, don't know how wasteyouryouth does it.
Step 12:
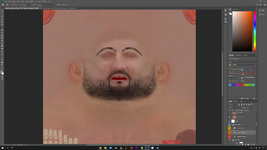
Use the adjustments folder and adjust the colour, brightness etc to something you like and you're done!
Some paperwork before signing off:
As I said this is more a guide to how I do things and not a definitive process. If you persist, you may find a better method with better results doing your own variances.
If you are unsure or don't know how to use a tool in the software then that is an issue for you to solve. I only say this as there are hundreds of videos on youtube covering all the tools used here
and are explained way better than I ever can. If you need clarification on a step then I am more than willing to help out.
Just remember, don't be worried about bad results or your first attempt coming out poorly. Practice makes perfect.
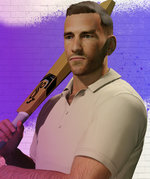
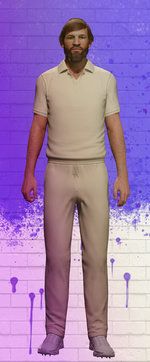
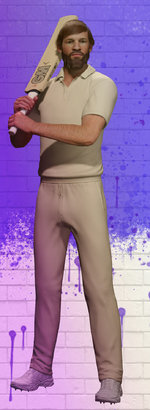
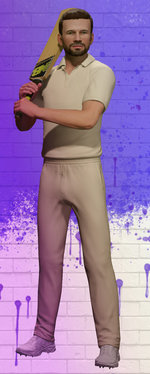
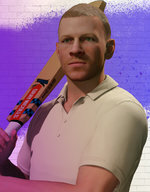
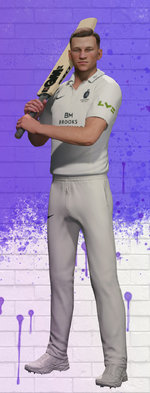
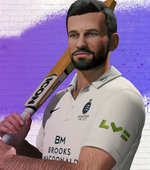
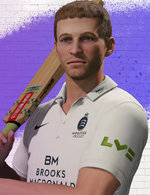
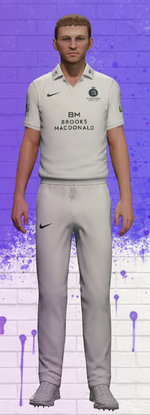
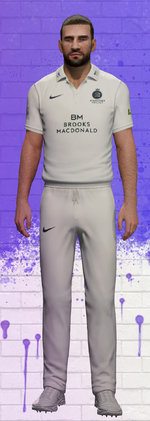
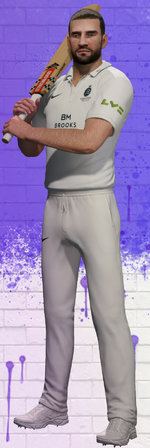
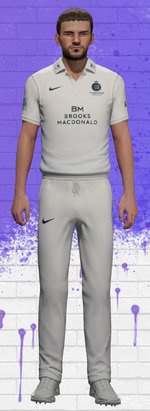
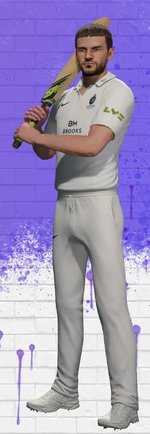
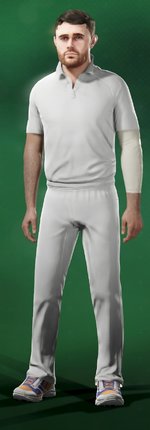
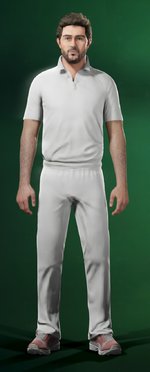
These were my two first players ever in Cricket 19:
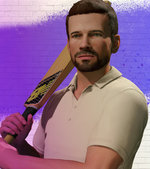
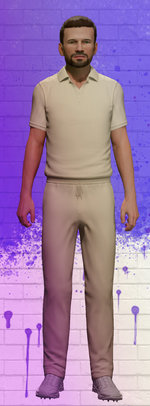
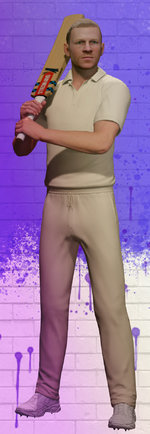
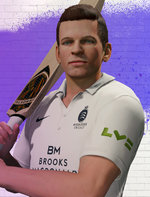
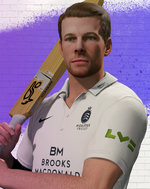
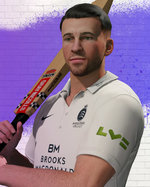
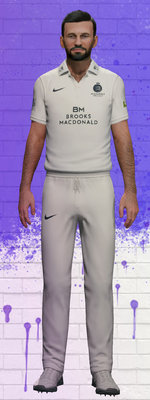
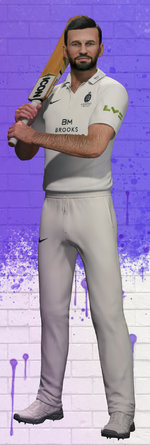
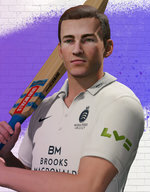
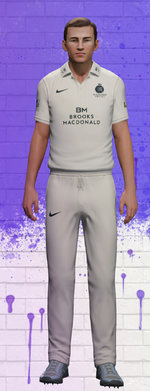
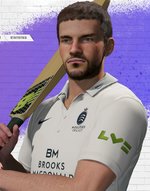
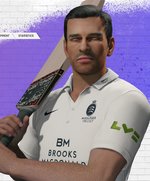
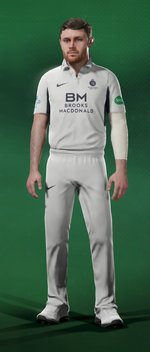
Six months later after about doing 50 players I re-visited and these were the improvements I made due to persisting:

So, that's about it, apologies for any typos, and good luck and have fun!


