sid_19840
International Coach
PURPOSE OF THE TUTORIAL
I felt that many users were just posting pictures in their story which not only makes the story look untidy if there are too many pictures but also does not present the story in a proper manner.So I felt that this tutorial would help those members and we could see some really good stories from a lot of members in the future.
TOOLS REQUIRED
1)An image editor like photoshop.
2)Software for taking pictures like Fraps or Photoshop.
THE PROCESS OF EDITING IMAGES
Ill explain this in steps so that it is easier to understand.
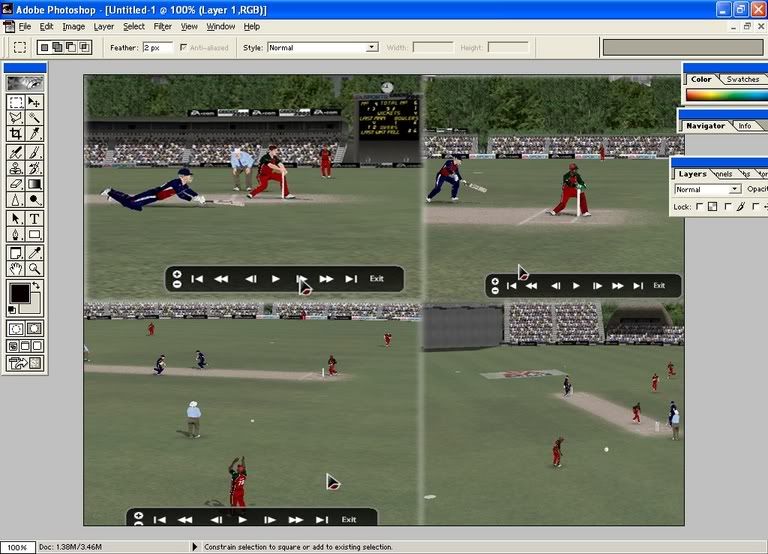
1)Collect all the pictures you want and open them using photoshop or any other image editor.
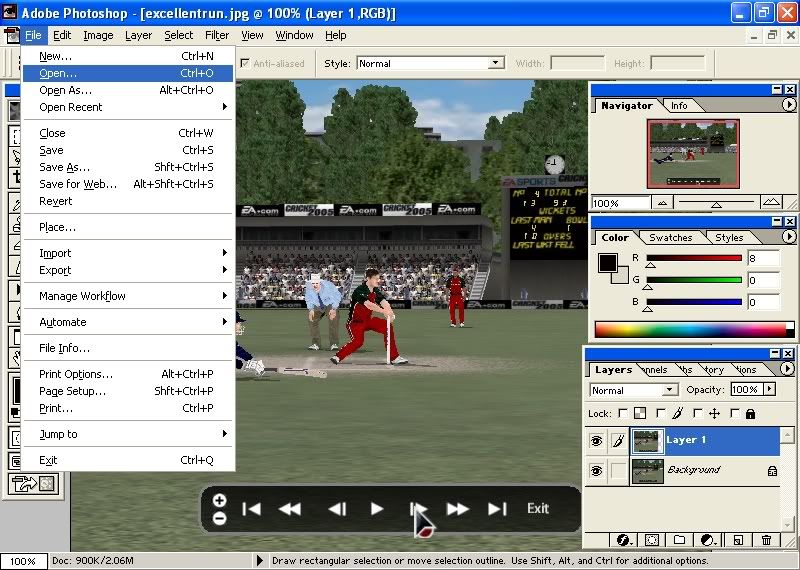
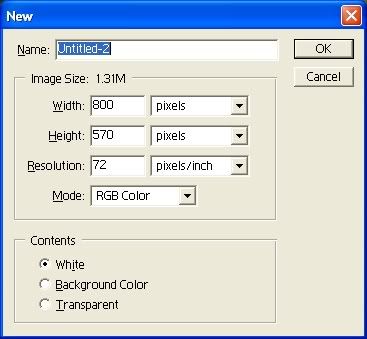
2)Start a new picture which will hold all the images,choose an appropriate size.
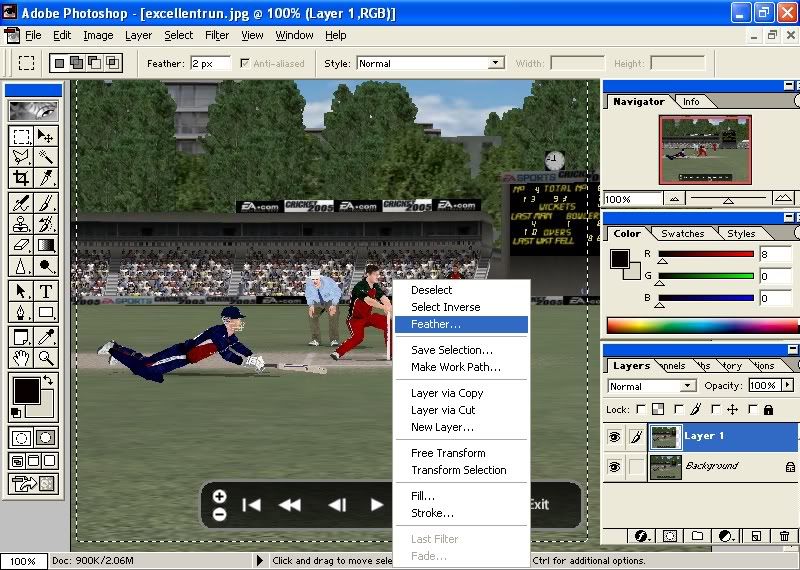
3)Using a tool such as rectangular-marquee select the area of the picture that you want,and you may use feather on the image as well.
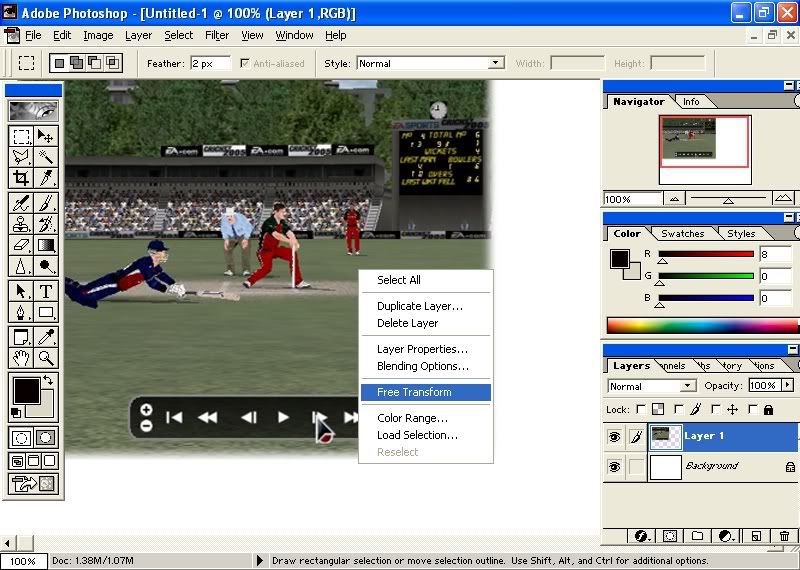
4)Now simply copy the image and paste it in the new image that you created earlier.
5)Now use the Free Transform tool to resize,rotate or place your image according to your needs.
6)Follow the same procedure with all the other images,and save this new image(prefferably in .jpg format).
Further enhancing your story with images
You may also further enhance your presentation's by using borders,fonts animations etc and any possible innovations to make your story look presentable.
FINAL THOUGHTS
I hope that the tutorial has been useful to members and that more members would be using these ideas in their stories.Thank You.
Siddharth(sid_19840)
UPDATE:ADDING BORDERS BY aussie1st
A step be step guide for newbies.
Click here to show the image for this tutorial.
This is for photoshop
1. Select the image (shown in first image)
2. Go to Select > Modify > Boarder > Choose number of pixels. (2nd image)
3. You have your boarder! Now go and select the paint bucket (3rd image)
4. With your paint bucket selected and colour choosen click anywhere inside the selection.
5. The 4th image is the result!
Last edited:


